Quiet ML350 G6 – It is possible
I recently purchased a used ML350-G6 from eBay, to replace the aging server I run that currently hosts Microsoft SBS2011 I bought this machine because it met a number of criteria, reasonably powerf…
Source: Quiet ML350 G6 – It is possible
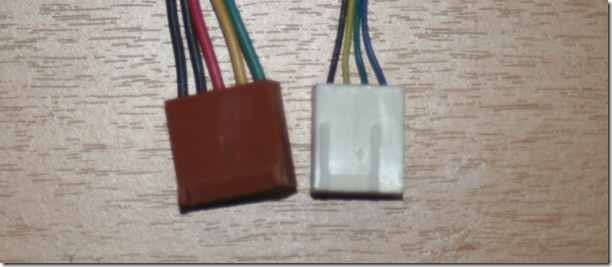
The original fan is Black, Black, Red, Yellow, Green, where a standard one is Black, Yellow, Green,Blue
After some googling around I found one site that suggested that the fans on an earlier ML series machine (which had different coloured wires) was in fact still using PWM and speed sensing the way a standard fan does, and that the two blacks are just linked together.
A quick test with a meter confirmed that the two blacks are just linked together, so I got a simple 5 pin connector, and rigged up some wires from the standard 4 pin header, to the five pin, with the blacks connected together, and used that in place of the number 4 fan on the motherboard, to see if it would work.
And …. success ![]()
The motherboard recognised the standard fan, and the fan speed increased / decreased along with the other three during the boot process.
So, next step was to get some quieter fans, and make some decent connectors to link them to the motherboard.
I opted for some fairly economical Artic F9 PWM fans, nice and quiet, and fairly cheap to boot. I also bought some DuPont crimp sockets, and 5 pin header plug housings to make the new connectors with.
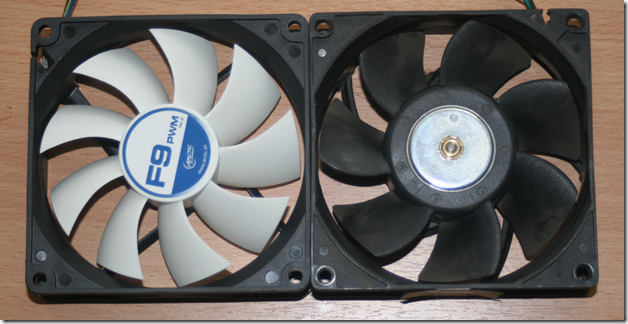
This is the Artic F9 alongside the stock fan removed from it’s housing. You can see the clearly visible smaller motor housing, which increases the space for airflow, allows the fans to rotate slower, and decrease the amount of noise generated per cfm of airflow.
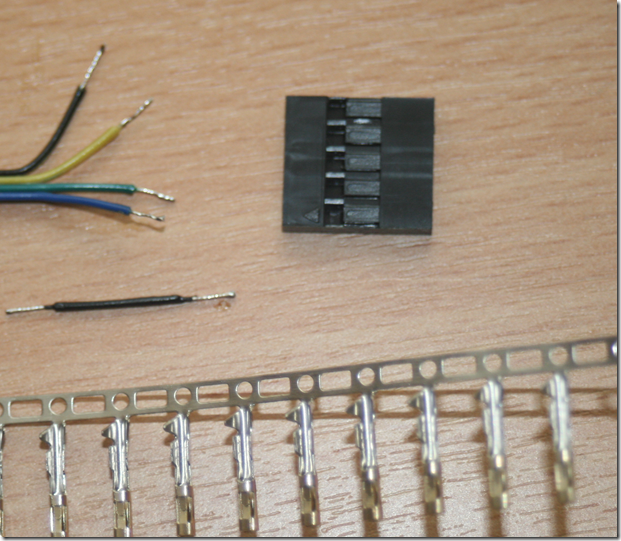
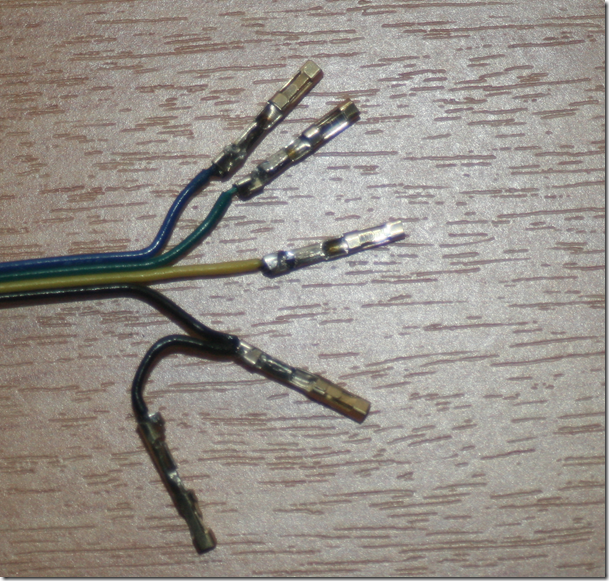
So, having got the bits the first step is to cut oof the standard header of the new fan, strip the cables back a bit, tin then, and get the crimps and connector block ready.
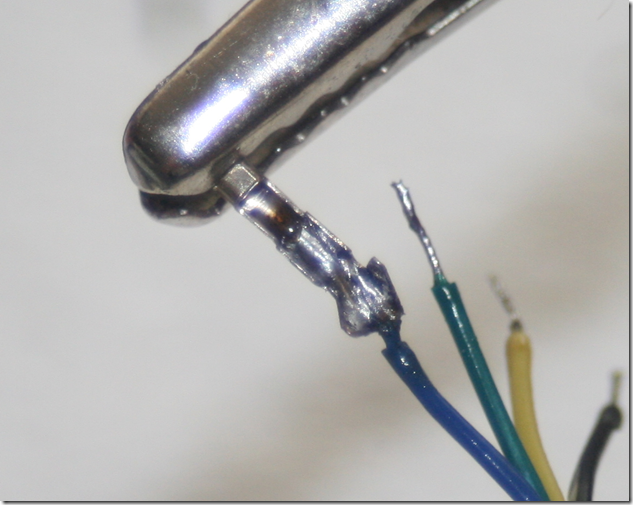
The crimps need to be soldered on to ensure a good quality connection, hopefully your soldering is nicer than mine!
Fold down the top edges of the crimps, and repeat for the other wires, remembering that you need to link the black together to make two crimps.
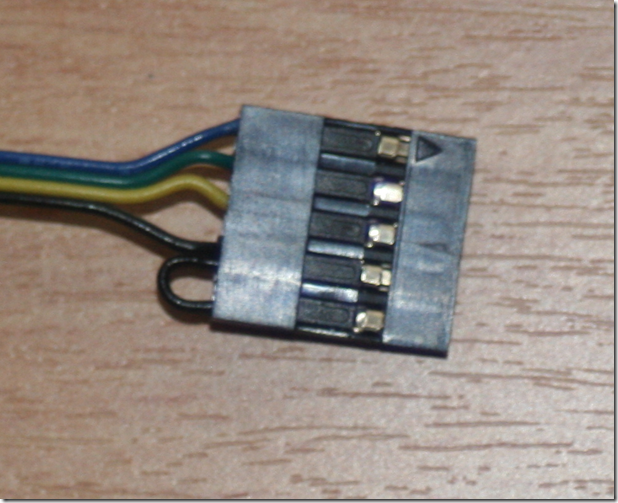
Once those are all ready, just mount them into the new header.
And that’s it, ready to install.
When installing you need to note that the new headers don’t have the slots like the old ones to ensure that you put the connecter the right way around on the motherboard. So, when you do it, take the old connecter off noting which end has the two blacks before putting the new connector on.
Also, make sure you take a note of the fan airflow direction, you need to make sure that you’re still pushing air in the right direction.
Again, even with both CPU’s maxxed out the fan speed stayed at 21%, CPU temp only increased a little on one CPU, and ILO 2 reported everything healthy.
But, best of all, it was running whisper quiet. I literally had to put my ear to the back of the unit to hear the fans / airflow.
